Turn your computer into an AI machine - AI videos with ComfyUI and HunyuanVideo model

Introduction
Sometimes it’s really unbelievable how fast that AI stuff progresses. A few weeks ago a new AI video model called HunyuanVideo was released. The Internetz was pretty amazed about that model. Then you read the minimum requirements: The minimum GPU memory required is 60GB. Yeah, sure, everybody has such a card at home 😄 So I forgot about that one. Just a few weeks later end of 2024 ComfyUI announced:
With the release of ComfyUI v0.3.10, we are excited to share that it is now possible to run the HunyuanVideo model on GPUs with only 8GB VRAM.
Wow! Well, I don’t know about 8GByte of VRAM but I can confirm it works with my NVIDIA 4080 SUPER with 16 GByte of VRAM 🎉 This ComfyUI community is really amazing 💪 So lets get started!
Prerequisites
I assume you’ve ComfyUI already installed and configured. If not please read my blog post about ComfyUI - private and locally hosted AI image generation.
Also make sure that you have the latest ComfyUI version installed. If you’ve ComfyUI-Manager installed as suggested in one of the previous blog posts it’s just a click on the Manager button on the top right, Update ComfyUI and then Restart.
HunyuanVideo installation
To make HunyuanVideo work a few files need to be downloaded.
Downloading the workflow
Download the workflow and store the JSON file somewhere temporary.
Loading the workflow
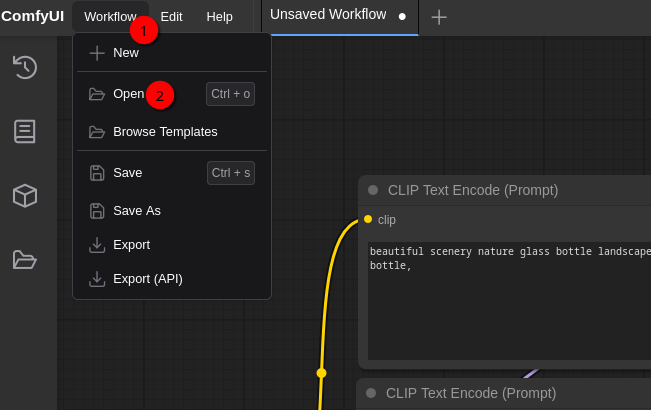
Select Workflow (1) and Open (2). Open the workflow file hunyuan_video_text_to_video.json.
Changing VAE Decode (Tiled) parameters
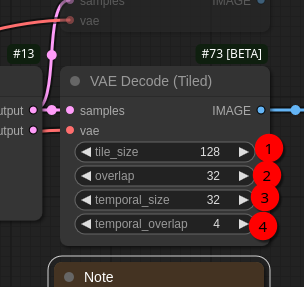
Change
(1) tile_size to 128
(2) overlap to 32
(3) temporal_size to 32
(4) temporal_overlap to 4
Download hunyuan_video_t2v_720p_bf16.safetensors model
Open the hunyuan_video_t2v_720p_bf16.safetensors model webpage and download the file hunyuan_video_t2v_720p_bf16.safetensors. That’s around around 26 GByte. Store the file in $HOME/comfyui/ComfyUI/models/diffusion_models.
Download clip_l.safetensors model
Open the clip_l.safetensors webpage and download clip_l.safetensors file. That’s around 246 MByte. Store the file in $HOME/comfyui/ComfyUI/models/clip.
Download llava_llama3_fp8_scaled.safetensors
Open the llava_llama3_fp8_scaled.safetensors webpage and download llava_llama3_fp8_scaled.safetensors file. That’s around 9 GByte. Store the file in $HOME/comfyui/ComfyUI/models/text_encoders.
Download hunyuan_video_vae_bf16.safetensors
Open the hunyuan_video_vae_bf16.safetensors webpage and download hunyuan_video_vae_bf16.safetensors file. That’s around 500 MByte. Store the file in $HOME/comfyui/ComfyUI/models/vae.
Adjusting the workflow
Now use the ComfyUI-Manager to restart ComfyUI. Afterwards reload ComfyUI webpage in the browser. Next a few settings need to be checked:
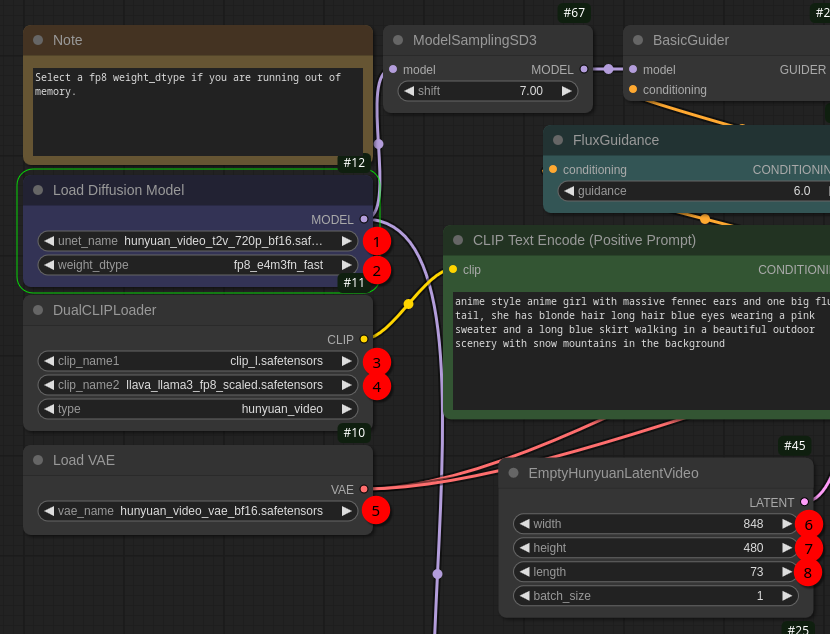
(1) unet_name needs to be set to hunyuan_video_t2v_720p_bf16.safetensors
(2) weight_dtype needs to be set to fp8_e4m3fn_fast
(3) clip_name1 needs to be clip_l.safetensors
(4) clip_name2 needs to be llava_llama3_fp8_scaled.safetensors
(5) vae_name needs to be hunyuan_video_vae_bf16.safetensors
For now just keep the rest of the rest parameters and also the video prompt in CLIP Text Encode (Positive Prompt). There are three more parameters you can play around later in EmptyHunyuanLatentVideo node:
(6) width is the width of the video
(7) height is the height of the video
(8) length is the length of the video in frames. So with fps (frames per second) set to 24 in SaveAnimatedWEBP node the resulting video is around 3 seconds. The greater this value is the more VRAM is needed. With my 16 GByte VRAM I was also able to set this value to 145 frames. I didn’t try other values so far. The interesting thing about this parameter is if you set it to 1 the model/workflow is also able to create images 😃 So it’s perfectly possible to create still images as with FLUX.1 model with this video model too!
The first video
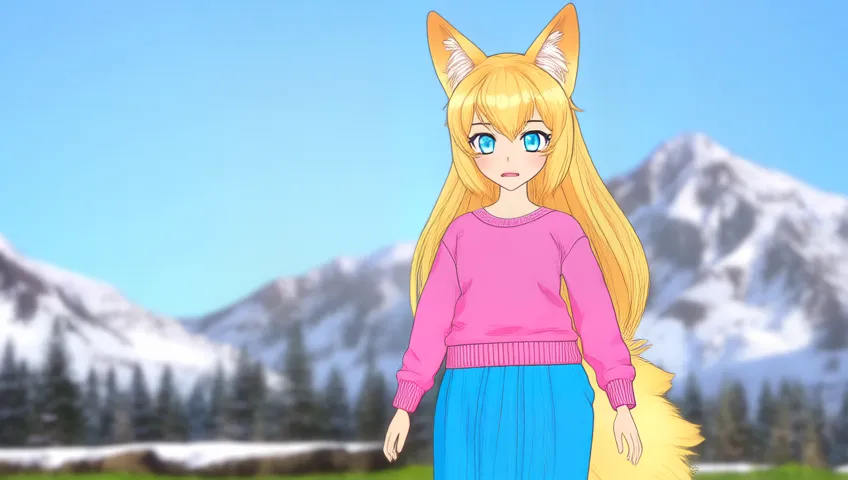
So with everything setup lets press Queue to generate the video. If you used the same settings it takes around 3-5 minutes to generate the video on my 4080 SUPER. If you’ve a different graphics card the time varies of course. And for me the result looked like this:
The second video
Next I tried a different prompt (keeping everything else as is). But I forgot the prompt 😄 But it was something like this:
A fly-by of a spacecraft at planet Saturn.
And it looked like this:
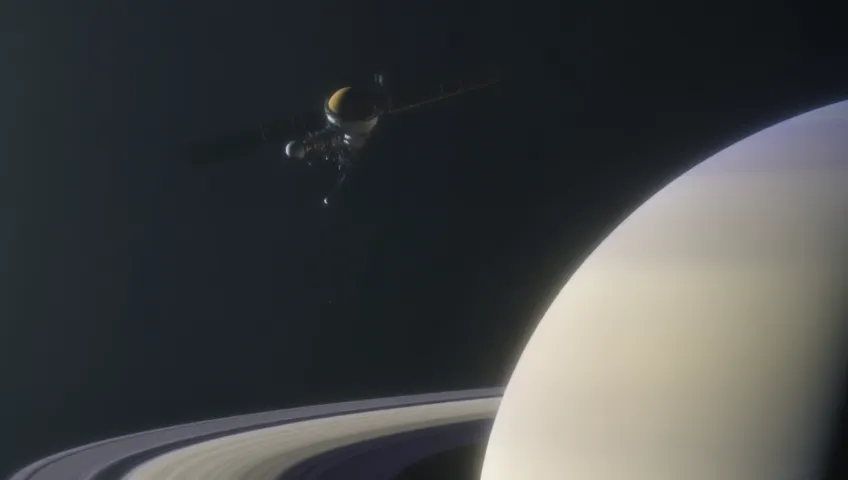
That’s pretty impressive…
The third video
Again with the same settings just a different prompt:
A fly-by of spaceship Galactica at planet Saturn. The planet should be kept centered and should be fully visible.
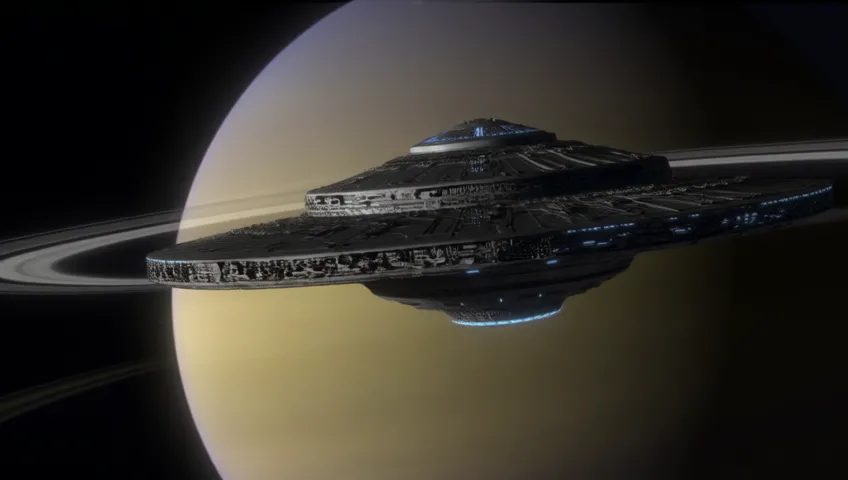
Looks like the model haven’t watched Battlestar Galactica 😄
The fourth video
This is a fun one 😉 In this case I used 145 frames (length parameter):
Inside a space station, the camera tracks a duck walking through a room filled with computer monitors and a big screen showing a planet outside the space station. The monitors showing some alerts.
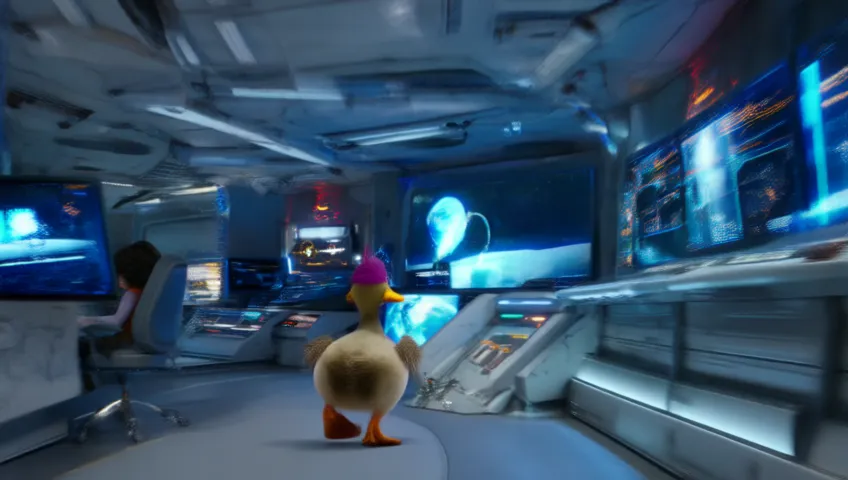
And there’re indeed a lot of monitors 😄 But I’ve the impression the more frames you create the better the video gets esp. for longer prompts.
Create a video from a image description generated by Llama 3.2-vision:11b
And my usual test… 😉 In my previous blog posts I asked the Llama 3.2-vision:11b model to describe what’s on a book cover I provided. The answer was like this:
The picture features a number of blue spheres floating above water or another reflective surface, with some spheres casting shadows onto the surface below.
The largest sphere is centered and sits atop what appears to be a dark reflection that extends outward from its base, resembling a shadow. It reflects light in various directions, creating different shades of blue across its surface.
Surrounding this are four smaller spheres, arranged in a square formation with one in each corner. Each one casts a shadow onto the reflective surface below and also reflects light in various directions.
The image is framed by an off-white border that adds some contrast to the rest of the picture. The background color is a medium blue.
I couldn’t resist to ask the Hunyuan video model to create a video out of that description 😄 So after DALL-E, Juggernaut XL and FLUX.1-dev lets see if that description not only works for images but also for a video. To describe what motion I want to have for the video I only added the following text at the end of the description above:
The smaller spheres should turn around the largest, centered sphere.
And that’s the result:
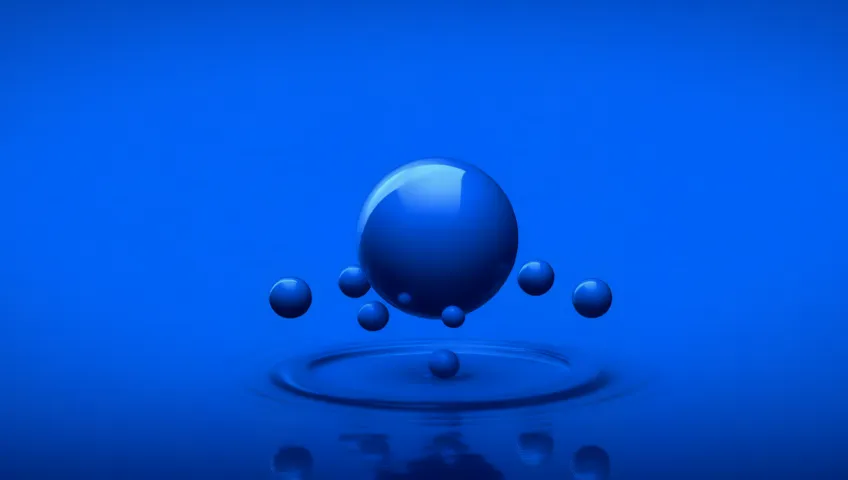
Well, that’s somewhat amazing 😎 And that’s also it for today. I guess someone with more knowledge can create really impressive videos. I can also imagine if one creates a few smaller clips and manages it to get some consistent style throughout the videos you can create some nice little videos.
Happy video creation!